Wednesday, June 26, 2013

YumNuts! My version of Cronuts


So by now I am sure most of you have heard about the latest craze hitting the shelves of bakeries and patisseries all over the world called the Cronut. Developed by Dominique Ansel in New York, now popping up all over the place under different names, the Cronut is a mix between the croissant and a donut. He even trademarked the name Cronut but that wont stop people from making their own versions, including me!


Now I don't make donuts, deep frying things does not impress me much, and I only made my first croissant just the other week. This was completely new territory for me. Still, the idea intrigued me so I researched a bit. It turns out that a croissant and donut hybrid isn't exactly a new concept. I came across a comment under a Cronut recipe (which was just Pillsbury Cresent rolls cut into donut shapes and deep fried :S) which lead me to the website of James Morton, runner up on Great British Bake Off.


Turns out there are these things called Yum Yums! Normally in the shape of a twisted stick, they are a laminated dough that is deep-fried and glazed, hence croissant and donut hybrid! Now I'm not going to pretend I know the background behind them but the point is they aren't new. So I decided to use the Yum Yum recipe, make them donut shaped and call them YumNuts, done and done.


My verdict is that they are very indulgent, pretty much a donut but with a lighter dough. If I made them again I would try using low protein cake flour to make them a bit more flaky and light, I wouldn't combine the butter until the laminating phase (like how I made the Croissants) and I would rest the dough in between each roll and fold process. I feel these small improvements might make the layers more defined and bring a stronger croissant feel to these mostly donut YumNuts.


Yum Nuts!

Recipe adapted from James Morton's Yum Yums

What you will need


500g flour
2 sachets yeast
5g salt
30g sugar
250g water, a tiny bit warm
1 egg
100g butter

Oil, for frying

Icing
250g icing sugar, sifted
60ml water

Pastry Cream
3 egg yolks
1/4 cup sugar
1/8 cup flour
2 tbsp corn flour
1 1/4 cup milk
1 tsp vanilla

What you will need to do

In a bowl mix flour, salt, sugar and yeast. Dice the butter into small pieces and add to the flour. Mix lightly with a spoon (you don't need to combine the butter, it won't). Add the water and egg and mix until all the flour is incorporated, get your hands in there! It may be a wet mess but that is ok. Cover with plastic wrap and leave it in the fridge overnight. If your short on time, leave it to rest at room temperature for at least half an hour.


Once it has rested long enough, put the dough on a floured surface and roll out into a long rectangle. Fold the ends in to the middle and then the whole thing in half like a book.


Repeat this process until all the lumps of butter have been fully incorporated into the dough. It took me about 6 times. Rest the dough in the fridge for up to 2 hours, or at least half an hour.

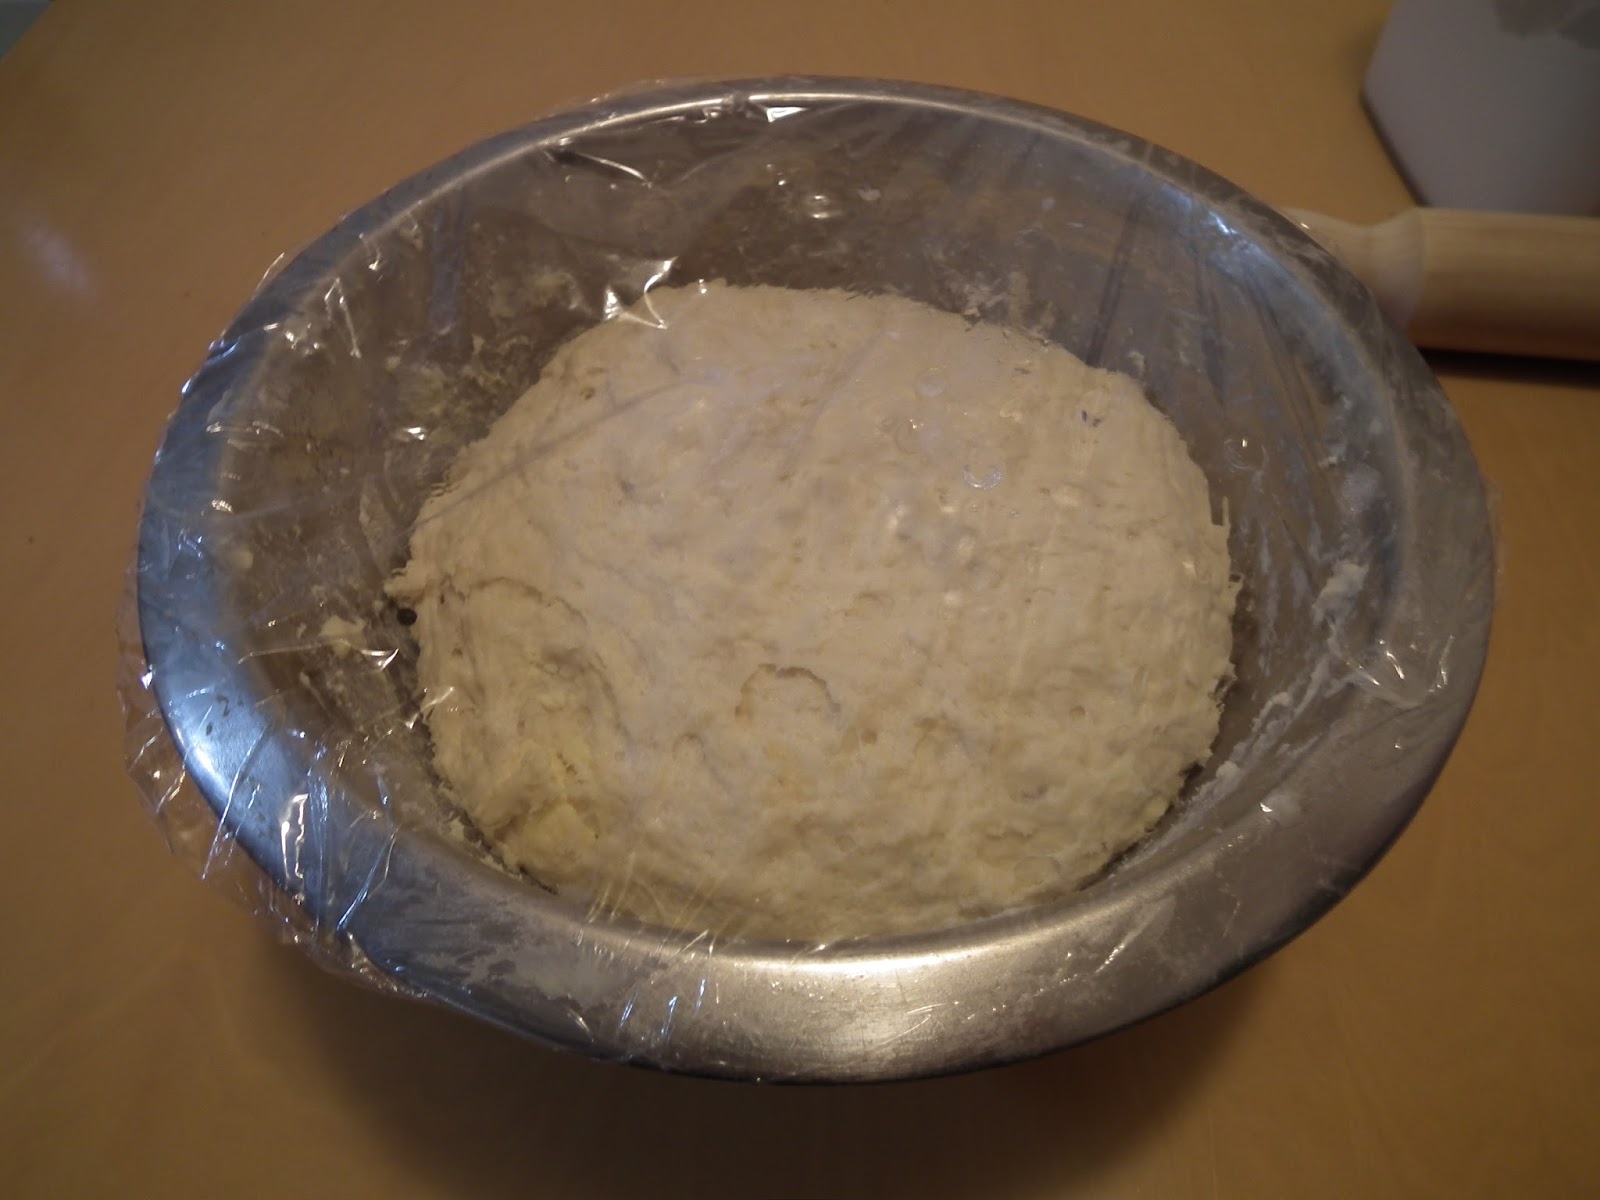
Once it has rested, place back on the floured bench and roll out to about 2cm thick. Now you can cut out your donut shapes, if you don't have round cutters, improvise. I used an egg ring and the big end of a piping tip to cut out mine.


Place the shapes on a lined baking tray and leave for an hour to double in size.


When they are ready to fry, make up your icing glaze by mixing the icing sugar with water to form a smooth consistency. You can add or use less water to make it however runny you want. Prepare a baking tray with a wire rack over it to place the YumNuts once they are cooked. Heat enough oil in a pan to submerge your YumNuts on low heat. Use a piece of leftover dough to test when it will be ready to fry. You don't want the oil too hot or they will burn and be doughy on the inside. USE EXTREME CAUTION WHEN COOKING WITH HOT OIL! Gently place a few YumNuts into the oil and cook until brown on the bottom then flip them over.


I gave mine a few minutes on each side. Carefully remove from the oil and place on wire rack over baking tray. Brush with glaze and set aside until cool.


I added some decorations to mine in the form of smarties, 100's and 1000's, chopped pecans and chocolate. You can use whatever you like or just leave them with glaze.

To make the pastry cream, warm milk in saucepan over low heat until just starting to steam. Meanwhile mix the eggs, sugar and flours together until smooth. When the milk starts steaming, add half of it to the egg mixture and whisk constantly. Add the egg and milk mixture back to the pan with remaining milk and whisk continuously. Whisk until the mixture becomes thick. Remove from heat and stir in vanilla. Set aside until cool. Place pastry cream into a piping bag fitted with a small round nozzle. Use the nozzle to make a small hole in the side of a YumNut and pipe in some pasy cream. You may need to do a few holes around the YumNut to fill it all.


Monday, June 24, 2013

Choc Chip Cupcakes with Chocolate Ganache and Vanilla Buttercream


So I've been experimenting with cupcakes lately and this is a pretty simple recipe but the icing is a bit different. I wanted to try and create a swirled icing effect and I was pretty happy with how they turned out. I have also just discovered Mini Baking Choc Chips! They are the cutest things, so tiny and delicious. I may have gone a bit overboard with them in this post but i am looking forward to using them in a tiny choc chip cookie recipe one day.


The recipe I used for the cupcakes was the same as the Vanilla Flake Cupcake recipe minus the flakes and plus a half a bag of mini choc chips. I used the same Vanilla Buttercream and Chocolate Ganache as I used to fill the Pistachio Macarons. The swirl effect comes from the way you fill the piping bag. Filling the bag one side with the buttercream and the other with ganache allows you to get a bit of both in every pipe. 


I love that the two toppings have distinctive textures also. The buttercream is light and soft where the ganache is thick and dense so it makes for an interesting bite each time!


Choc Chip Cupcakes with Chocolate Ganache and Vanilla Buttercream


Adapted from The Cupcake Project - Ultimate Vanilla Cupcake


What you will need


1 cup caster sugar
1 3/4 cups cake flour (I used plain flour but replaced two tablespoons with corn flour)
1 1/2 tsp baking powder
1/2 tsp baking soda
1/2 tsp salt
1/4 cup unsalted butter, room temp
2 large eggs
1/3 cup sour cream
1/4 cup oil
1 tbsp vanilla
2/3 cup milk
1 packet mini choc chips

200g chocolate melts
100ml cream

1 cup icing sugar
100g butter
2 tsp vanilla essence


What you will need to do


Preheat oven to 175*C and prepare a muffin tray with cupcake wrappers. In a bowl combine flour, baking powder and soda, salt and sugar. Add butter and mix on a slow speed until the mixture resembles a fine crumb. In a separate bowl whisk eggs, sour cream, oil and vanilla until smooth. Add this mixture to the flour mixture and mix on medium speed until just combined. Slowly add the milk until just combined. Add half the mini choc chips to the batter and fold in.

Fill the cupcake liners half full. Bake for 15-20 minutes or until a toothpick inserted comes out clean. They shouldn't go brown on top so be cautious not to over cook them. When they are done put them on a cooling rack to cool.

To make the ganache, bring the cream to boil then pour over the chocolate in a heat proof bowl. Stir until all the chocolate has melted then set aside to cool down and firm up.

To make the buttercream, beat the butter and icing sugar until pale and creamy. Beat in the vanilla.

To ice the cupcakes, prepare a piping bag fitted with a round tip about 1cm wide. To fill the piping bag, holding it upright put the buttercream on one side of the bag and put ganache on the other side. This way you will get a swirled effect when you pipe. Pipe the icing onto the cupcakes and sprinkle the tops with remaining choc chips.


Wednesday, June 19, 2013

Home Made Croissants


I finally did it! I made my own Croissants! I have been putting it off for a long time because the whole laminating dough process looked hard and time consuming. It was a bit of a long process, the dough has to rest for 6-8hrs first so I made them over two days, but it definitely wasn't hard. The results were amazing, especially for a home job. I am so proud of the outcome.


The dough ended up being quite large so I made half into croissants and half into Nutella spirals, just for something different. They were super delicious, the pastry was so light and flaky. On a winter morning these pastries were just as good as a big warm hug!


Home Made Croissants

Adapted from Ideasmag.co.za

What you will need


500g white flour, low protein
7g instant dried yeast
45g sugar
30g milk powder
300ml chilled water
280g butter
1 large egg
Nutella, optional

What you will need to do


Sift the flour into a bowl and add yeast. In a separate bowl, dissolve the sugar, a pinch of salt and milk powder in a third of the water. Add the rest of the water. Make a well in the centre of the flour and add the liquid ingredients. Stir to mix in the flour gradually. Once it is mixed, cover and leave to rise in a warm place until doubled in size and stops growing. This can take anywhere from 30minutes to 2 hours. After it has stopped growing, take out and knead it lightly to make it smooth then cover in cling wrap and place in the fridge for 6 - 8 hours (or overnight).


Take butter and place between two pieces of baking paper. Use a rolling pin and flatten the butter into a square shape about 1cm thick. Place back into fridge. Remove dough from fridge and knead lightly. Roll into a ball then cut a cross in the top.


Roll out to flatten and make into a square shape, bigger than the square of butter. Place the butter in the centre of the dough and fold in dough edges to cover the butter.


Roll out pastry into a rectangle shape then fold over three times.


Wrap in plastic and place in the fridge for 20 minutes. Repeat the rolling, folding and resting in fridge step two more times.

Divide the dough in half and cut out long triangle shapes.


Make a small cut in the short end then roll up to form the croissant shape. Place on a baking tray lined with baking paper and brush lightly with the beaten egg.


Leave to double in size then bake in a preheated oven at 200*C for 15 minutes or until golden brown.

To make the nutella scrolls, use the other half of the dough and roll into a rectangle shape. Spread nutella evenly over the dough then roll dough into a log. Cut it into slices about 2 inches wide and place on a baking tray lined with baking paper. Brush with egg then leave to double in size. Bake in a preheated oven at 200*C for 15 minutes or until golden.


Sunday, June 9, 2013

Pistachio Macarons with Chocolate Ganache and Vanilla Buttercream


It has been a while since I have made macarons. These turned out surprisingly well considering I tampered with the ingredients from my usual recipe and just added however much I wanted of pistachios. In fact the measurement of pistachios was 'however many I could peel before I got bored/annoyed/sore fingers'. I had intended to add some green food colouring to give them a more 'Pistachio' look but it completely escaped me. The ganache and buttercream was just left over from some cupcakes I made but it was super delicious sandwiched between pistachio macarons.


I've not been having a great time at work lately which is a shame because I love what I do. Throw in a bit of home sickness and my mood has been somewhat unpleasant to say the least. These little pick me ups make me feel a whole lot better both in the making and the eating. Creating these delicious little morsels from a few simple ingredients just gives me hope that one day this will be what I get to do day in day out :) And the fact that just one little bite can lift my mood to new heights is a pleasurable bonus!


Pistachio Macarons with Chocolate Ganache and Vanilla Buttercream


What you will need


3/4 cup almond meal
3/4 cup icing sugar
1/4 cup ground pistachios (I peeled/ shelled some pistachios then processed and sifted them, keep the bits that were too big to get through the sieve and set aside for later)
1/4 cup caster sugar
2 egg whites

200g chocolate melts
100ml cream

1 cup icing sugar
100g butter
2 tsp vanilla essence


What you will need to do


Prepare two baking trays with baking paper and set aside.
In a bowl sift the almond meal, icing sugar and ground pistachios and set aside. In another bowl beat the egg whites until soft peaks form. Add the caster sugar and beat until a thick merengue forms. Add the merengue into the sifted dry ingredients. Start mixing quite vigorously to combine ingredients and then fold until mixture is shiny and moves slowly in the bowl when tilted.

Place mixture into a piping bag fitted with a round tip about 1cm wide. Pipe small rounds onto the baking trays about 2cm wide (I made some extra small ones about 1cm wide too). Leave a good sized gap between each round as they will spread slightly. Tap the baking tray quite hard onto the bench to get any bubbles out of the rounds. Sprinkle the rounds with any leftover pistachio bits that were too big to get through the sieve. Leave the trays out on the bench for anywhere from 30 minutes to 2 hours, depending on the temperature and weather, until a dry skin forms on the rounds and you can touch them without it sticking to your finger.

Preheat the oven to 150*C and place trays in for about 10 minutes. They may need longer depending on your oven. The shells will be ready when the feet have formed and no longer look soft. They won't brown too much on top but the bottoms might just start to brown. Take out the trays and leave them to cool down on the tray. Once they are cool to touch remove them carefully from the baking tray and set on a wire rack to continue to cool.

To make the ganache, bring the cream to boil then pour over the chocolate in a heat proof bowl. Stir until all the chocolate has melted then set aside to cool down and firm up.

To make the buttercream, beat the butter and icing sugar until pale and creamy. Beat in the vanilla.

To fill the macarons, prepare a piping bag fitted with a round tip about 1cm wide. To fill the piping bag, holding it upright put the buttercream on one side of the bag and put ganache on the other side. This way you will get a swirled effect when you pipe. Pipe the filling onto half of the shells and then sandwich together with the other shells.